
A star tracker can be a handy tool for astrophotography, and I love using my Star Adventurer for widefield nightscapes. Due to the earth’s rotation, we see the stars move when we take long exposure shots of the night sky. How much they move across your frame depends on your focal length, camera resolution, and shutter speed. PhotoPills has a module called Spot Stars which can help you figure out how long you can shoot for to get accurate pinpoint stars or barely noticeable trails.

ISO1600 f4 45mm 90s & 120s – A tracked and untracked shot comparison showing pinpoint stars on the left and trails on the right in the foreground shot.
Tracking is one of the ways you can deal with noise and get more light into your sensor while shooting at night. The tracker moves your camera at the same rate the stars move through the sky, allowing you to take longer exposures and use a lower ISO if you choose. You can check out my Milky Way Photos Before and After Editing blog for more details and other methods.
The setup I have is the Star Adventurer Photo Package with the Equatorial Wedge. The longest lens I have used is my Nikkor 70-200mm f2.8, and I haven’t needed a counterweight (yet).

ISO1600 f4 14mm 90s
Setting Up Your Star Tracker
- Roughly figure out your composition and where you want your camera and tripod to be.
- Find the North Star: it is between the Big Dipper and Cassiopeia. The two stars on the end of the Dipper’s cup will point to Polaris. You can also use an app like Sky Safari on your phone to help orientate yourself.
- Set up your tripod so that it is level. The Star Adventurer Equatorial Wedge has a level on the base, and you can mount this directly to the tripod right away if your tripod doesn’t have a level. As you set up, it is a good idea to point the wedge to approximately where the north star is and then level the tripod.
- Set the Equatorial Wedge for your latitude.
- Attach the body of the tracker and make sure the polar scope is approximately pointing at the North Star.
- Polar Alignment (more on this later).
- Attach the fine-tuning mounting assembly, and then attach your camera.
- Compose your image (for my how-to, click here).
- Turn on your tracker to the star symbol (celestial tracking) and take your sky image(s).
- Turn off the tracker and take your foreground image (in the sky image, the foreground will be blurred due to the camera movement).
- If your tripod moves or you shift anything at any point in this process, you will have to start over to get proper Alignment of the scope.
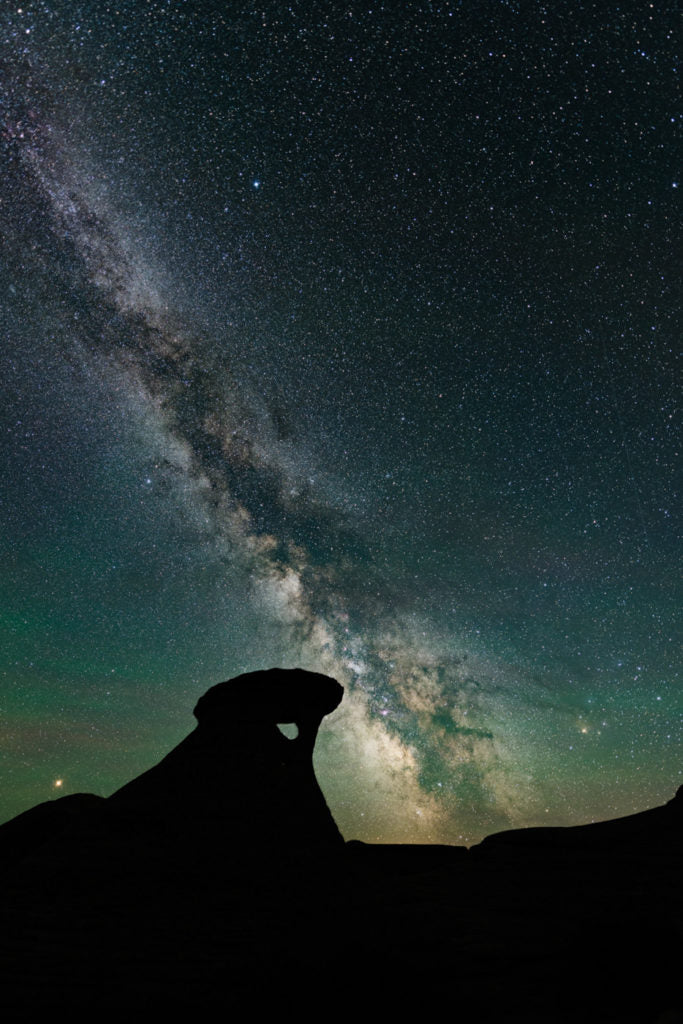
ISO400 14mm f2.8 250s – An experiment with a very low ISO for a moonless sky and long exposure time.
Polar Alignment
Polar Alignment is the trickiest part of the process, but luckily with a wide-angle lens, you don’t have to be that accurate – just pretty close. I’ve used up to a 200mm focal length, but I did try to be more accurate for that one. For the alignment process, I’ll refer you to the tracker manual which has some helpful diagrams. If you are struggling with this process, you can get Polaris approximately on the cross-section of the polar scope and still get good results using 1-2 minute exposures and wide-angle lenses. If you want to do deep sky imaging, you will have to be much more accurate.
ISO1600 f4 29mm 120s
Practice Inside First
The best time to figure out how to set up your star tracker is when you are comfortable and have light. Some muscle memory can also help when you are out in the dark and want to minimize how much light you are using to preserve your night vision.

ISO3200 f4 200mm 60s – Comet Neowise
Practice Outside when it’s not Exciting
It’s frustrating to miss a moment or mess up a good composition or opportunity because you don’t have a good handle on setting up and using your equipment. Once you have everything figured out indoors, head out on a night where there is no pressure to capture something amazing and practice setting up and aligning your tracker.

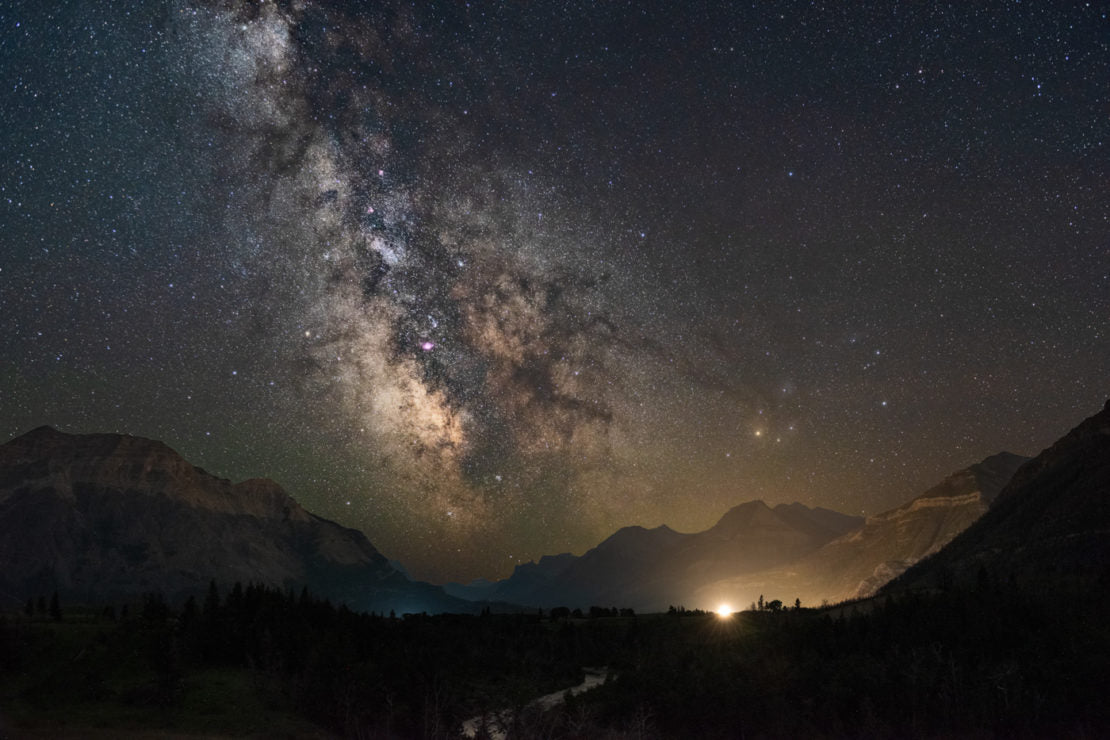
ISO1600 f2.8 22mm 30s – Luminosity blending was used to balance the bright lights from the Prince of Wales hotel in Waterton
If you’d like to work on your night sky photography I have group workshops (click here for my group workshops) available and you can also book a private session (click here for my private sessions) where we could use star trackers, too.
Featured in this blog:

Sky-Watcher Star Adventurer 2i Photo Package

Sky-Watcher Star Adventurer 2i Pro Pack
